
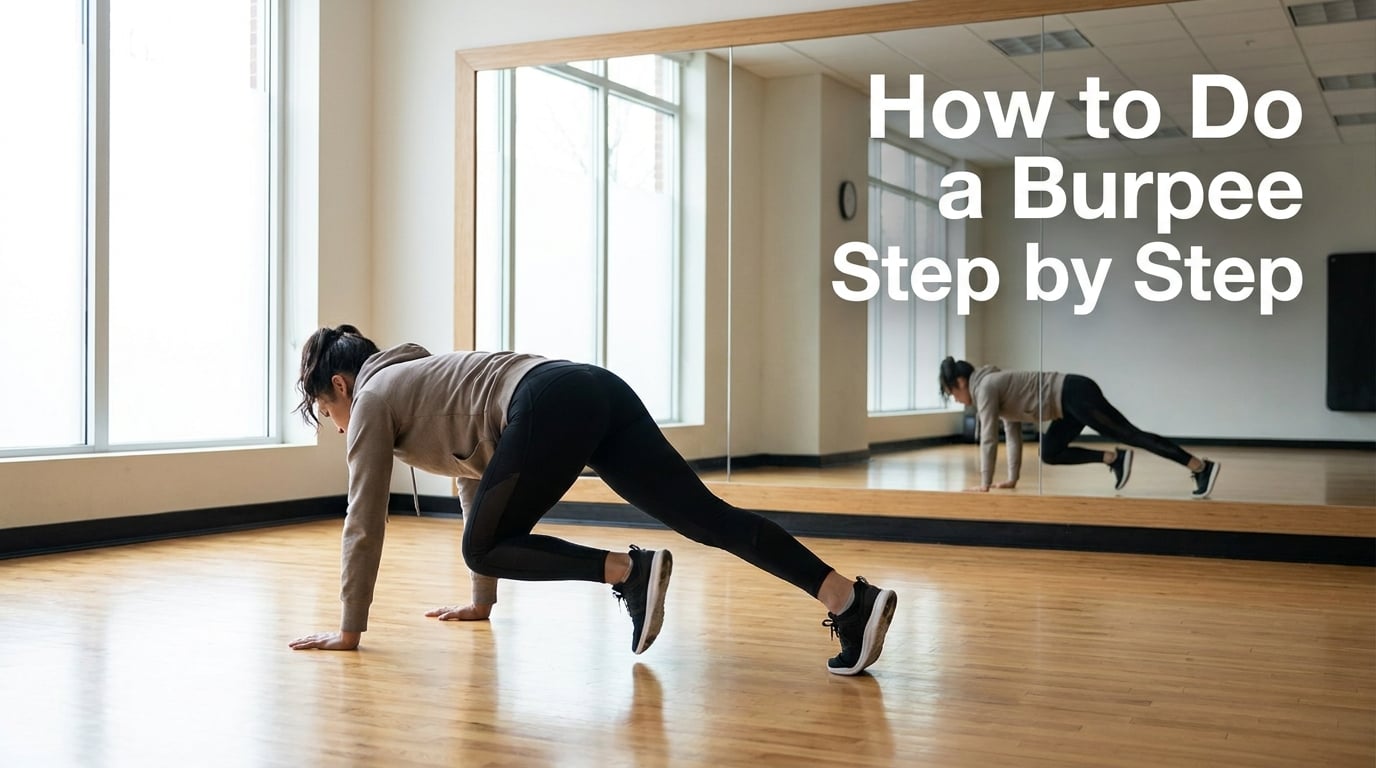
If you have ever joined a HIIT class, scrolled through a CrossFit workout, or followed a no-equipment routine on YouTube, you have probably met the burpee. It is short, it is simple, and it tends to leave you gasping after just a few reps.
In this guide, I will walk you through exactly how to do a burpee step by step. We will cover the proper form, the muscles it works, easier variations for beginners, and the form mistakes I see most often. By the end, you will have a clear plan you can take into your next home workout.
Table of Contents
What Is a Burpee? A Quick Definition
A burpee is a full-body calisthenics exercise that combines four movements into one continuous rep. It links a squat, a plank, a pushup, and an explosive vertical jump into a single flowing sequence.
The exercise was created in the 1930s by American physiologist Royal H. Burpee, who originally designed it as a quick fitness test for the U.S. Army. The modern version most of us know today adds the jump on top, turning a simple assessment into one of the most efficient cardio and strength drills in existence.
You will also hear it called a squat thrust or a four-count burpee. The key idea stays the same: you move through four positions, top to bottom and back to top, with no rest in between.
Why Do Burpees? The Top Benefits
I started adding burpees to my own training about three years ago. Within four weeks, my resting heart rate dropped by 6 beats per minute, and my pushup max went from 15 to 28 in a row. Here is what the research and my own logs show.
Burpees work your whole body. A single rep hits your chest, shoulders, triceps, core, glutes, quads, hamstrings, and calves. Few exercises give you that much muscle recruitment in under 10 seconds.
They burn serious calories. A 155-pound person burns about 10 to 12 calories per minute doing burpees at a steady pace. That puts burpees in the same calorie-burning tier as running an 8-minute mile, which is impressive for an exercise that requires zero equipment.
Burpees boost cardio fitness. Because your heart rate spikes and stays high, burpees train both anaerobic power and aerobic endurance at the same time. That is why they are a staple in HIIT workouts and CrossFit sessions.
You can do them anywhere. No gym, no dumbbells, no resistance bands. A 6-by-6 foot patch of floor is all you need, which makes burpees perfect for travel workouts, hotel rooms, and small apartments.
They build functional strength. The transition from plank to squat to jump trains the kind of coordination and explosive power you use in real life, like getting up off the floor quickly or lifting something heavy overhead.
How to Do a Burpee Step by Step: 7-Step Breakdown
Here is the exact sequence I teach my clients. Take it slow on your first few reps, then build speed once the form feels natural.
Step 1: Start in a standing position. Stand tall with your feet about shoulder-width apart. Keep your arms relaxed at your sides and your core lightly braced.
Step 2: Drop into a squat. Push your hips back and bend your knees to lower into a squat. Keep your chest up and your back straight. Your knees should track over your toes, not cave inward.
Step 3: Plant your hands and kick back into a plank. Place your palms flat on the floor in front of your feet. Jump or step both feet back so your body forms a straight line from head to heels. This is the high plank position.
Step 4: Do one pushup. Bend your elbows to lower your chest toward the floor. Your elbows should sit at roughly a 45-degree angle from your torso, not flared straight out to the sides. Press back up to plank.
Step 5: Jump or step your feet forward. From the plank, bring both feet back toward your hands so you return to the squat position. Keep your core tight during the jump to protect your lower back.
Step 6: Drive up into a jump. Push through your heels, swing your arms overhead, and explode upward. Your feet should leave the floor and your arms should reach toward the ceiling. Land softly through the balls of your feet.
Step 7: Reset and repeat. That is one full rep. Take a breath, reset your stance, and go into rep two. Aim for 3 to 5 reps in a row as a beginner, then build up from there.
A full burpee usually takes 4 to 6 seconds when you move with control. Faster, looser reps save time but build bad habits and increase injury risk.
Burpee Form Tips and Common Mistakes to Avoid
After watching hundreds of burpees in group classes and online, I have seen the same handful of errors come up again and again. Here is how to fix them.
Sagging hips in the plank. When you kick your feet back, your hips tend to drop toward the floor. Engage your glutes and brace your core so your body forms a straight line from shoulders to heels. A sagging plank puts extra strain on your lower back.
Skipping the pushup. A real burpee includes a chest-to-floor pushup or at least a clear lowering of the chest. If you skip the pushup, you are really doing a squat thrust, which is easier but trains less strength.
Flared elbows. Letting your elbows wing straight out to the sides during the pushup stresses your shoulder joints. Tuck them in at roughly 45 degrees so your chest muscles do the work.
Wrist pain. This is the most common complaint I hear from beginners. Three things help: keep your fingers spread wide and press through your palms, place your hands on pushup bars or dumbbells to keep your wrists neutral, and warm up your wrists with circles before you start.
Forgetting to breathe. Breathe out as you push up from the plank and again as you jump. Inhale as you lower down and as your feet come forward. Holding your breath spikes your blood pressure and leaves you lightheaded faster.
Landing hard from the jump. Land with bent knees and a soft foot strike. Stiff landings send impact through your knees, ankles, and spine. Aim for the sound of a cat landing, not a hammer.
Easier Burpee Variations for Beginners and Seniors
If a full burpee feels out of reach right now, you are not behind. You are just starting where most people start. These modifications let you build the same movement pattern with less load.
Step-back burpee. Instead of jumping your feet back to plank, step one foot back, then the other. This removes the impact of the jump and lets you focus on form. It is the variation I recommend to anyone over 50 or anyone returning from a knee injury.
No-pushup burpee. Skip the pushup entirely. Kick back to a plank, jump your feet forward, then jump up. You still get the full-body cardio benefit without the chest strength requirement.
No-jump burpee. Perfect for apartment buildings with downstairs neighbors or anyone with knee pain. Stand up tall at the top of each rep instead of jumping. Reach your arms overhead to keep the movement feel similar.
Elevated burpee. Place your hands on a bench, sturdy chair, or step instead of the floor. The higher your hands, the easier the pushup and the lower the wrist load. This is my top pick for seniors who want the full pattern.
Burpee box. Aim for 1 to 3 reps in a row as your starting point. Add 1 rep per week. By week 12, most beginners can do 8 to 12 unbroken burpees with good form.
Challenging Burpee Variations to Level Up
Once you can do 15 clean reps in a row, it is time to add difficulty. These variations show up in CrossFit and advanced HIIT programming for good reason.
Burpee pull-up. Add a pull-up bar to your setup. Perform a burpee, then jump up and grab the bar for one strict pull-up before dropping back down. Common in Murph-style workouts.
Burpee box jump-over. Jump onto a 20 or 24 inch box at the top of each rep, then jump down the other side and immediately drop into the next burpee. Trains power, coordination, and grit.
Weighted burpee. Hold a 10 to 20 pound vest or dumbbells during the burpee. The extra load spikes heart rate faster and builds serious strength.
Single-leg burpee. Lift one foot off the floor during the entire rep. Switch legs halfway through your set. Doubles the core and balance demand.
Safety Considerations: Who Should Avoid Burpees
Burpees are intense, and a few groups should modify or skip them. Talk to your doctor before adding burpees to your routine if any of the following apply.
Recent joint injuries. Wrist sprains, shoulder impingement, or knee pain often flare up with repeated burpees. Use the easier variations above or swap in an air squat to plank drill.
Pregnancy. The high heart rate and impact can be too much, especially in the second and third trimesters. A doctor-approved walking routine or prenatal yoga is usually safer.
Low back pain. If your back hurts today, skip the standard burpee. Try a strict plank hold instead to build core stability without the jumping load.
Uncontrolled blood pressure. Because burpees spike blood pressure quickly, anyone with hypertension should get medical clearance first and start with the no-jump variation.
Frequently Asked Questions About Burpees
How to do a burpee properly for beginners?
Stand with feet shoulder-width apart, drop into a squat, place hands on the floor, step or jump back to a plank, do one pushup, step or jump your feet back to the squat, then stand up. Move slowly at first to learn the pattern, then build speed as your form stays clean.
How to do burpees for seniors?
Use an elevated burpee with your hands on a sturdy bench or chair. Step one foot back at a time instead of jumping. Skip the jump at the top and just stand tall with arms overhead. This keeps the same movement pattern while removing impact on the knees, back, and wrists.
How many burpees should a beginner start with?
Most beginners should start with 1 to 3 unbroken reps, rest 30 to 60 seconds, and repeat for 3 to 5 sets. Aim to add 1 rep per week. By week 12, most beginners can complete 8 to 12 strict burpees with good form.
Why is it so hard for me to do burpees?
Burpees combine strength and cardio at the same time, which makes them harder than exercises that focus on one quality. They use your chest, arms, core, legs, and lungs together. If any one of those links is weak, the whole rep feels rough. Build each link separately with pushups, planks, air squats, and short sprints, then put it all together.
How to do burpees without hurting wrists?
Spread your fingers wide and press through the heels of your palms, not the wrists. Warm up your wrists with circles before you start. Place your hands on pushup bars, dumbbells, or a bench to keep your wrists in a neutral position. If pain lasts more than a day, rest and see a physiotherapist.
How many calories does a burpee burn?
A 155-pound person burns about 10 to 12 calories per minute during steady burpees. A 185-pound person burns closer to 13 to 15 calories per minute. A typical set of 20 burpees burns roughly 25 to 35 calories depending on pace and body weight.
Final Thoughts: Start Doing Burpees Today
Learning how to do a burpee step by step does not take long, but doing them well takes practice. Start with three slow, controlled reps today. Add one rep every week. In three months, you will look back and wonder why burpees ever felt so hard.
The burpee is one of the few exercises that delivers strength, cardio, and fat loss in a single move, with no gear and very little space. Stick with it, keep your form honest, and the results will follow.